
In today’s fast-paced tech landscape, integrating artificial intelligence into your projects is more accessible than ever. If you’re looking to migrate your AI to Python or create a Python AI application, you’ve come to the right place. This guide is tailored for beginners and intermediate developers interested in turning their AI models into deployable Python apps. We’ll walk you through the entire process—from choosing the right model to testing and deployment.
Prerequisites
Before you begin, ensure you have the following tools and libraries installed:
- Python: The core language for your AI application.
Learn how to install Python - AI Libraries: Depending on your model, install libraries such as TensorFlow, PyTorch, or scikit-learn.
TensorFlow Installation Guide - Development Environment: Tools like VS Code, PyCharm, or Jupyter Notebook for coding and debugging.
- Version Control: Git for source code management.
- running now python offline full guide
Choosing Your AI Model
The first step in creating a Python AI project is to choose an appropriate AI model. Consider the following:
- Pre-trained Models: Ideal for rapid development. Models like BERT, ResNet, or MobileNet can be fine-tuned for your needs.
- Custom Models: Build and train your own model if you have unique requirements.
- Model Complexity: Ensure the model’s complexity matches your application’s demands.
Evaluate your options based on performance, ease of integration, and resource requirements.
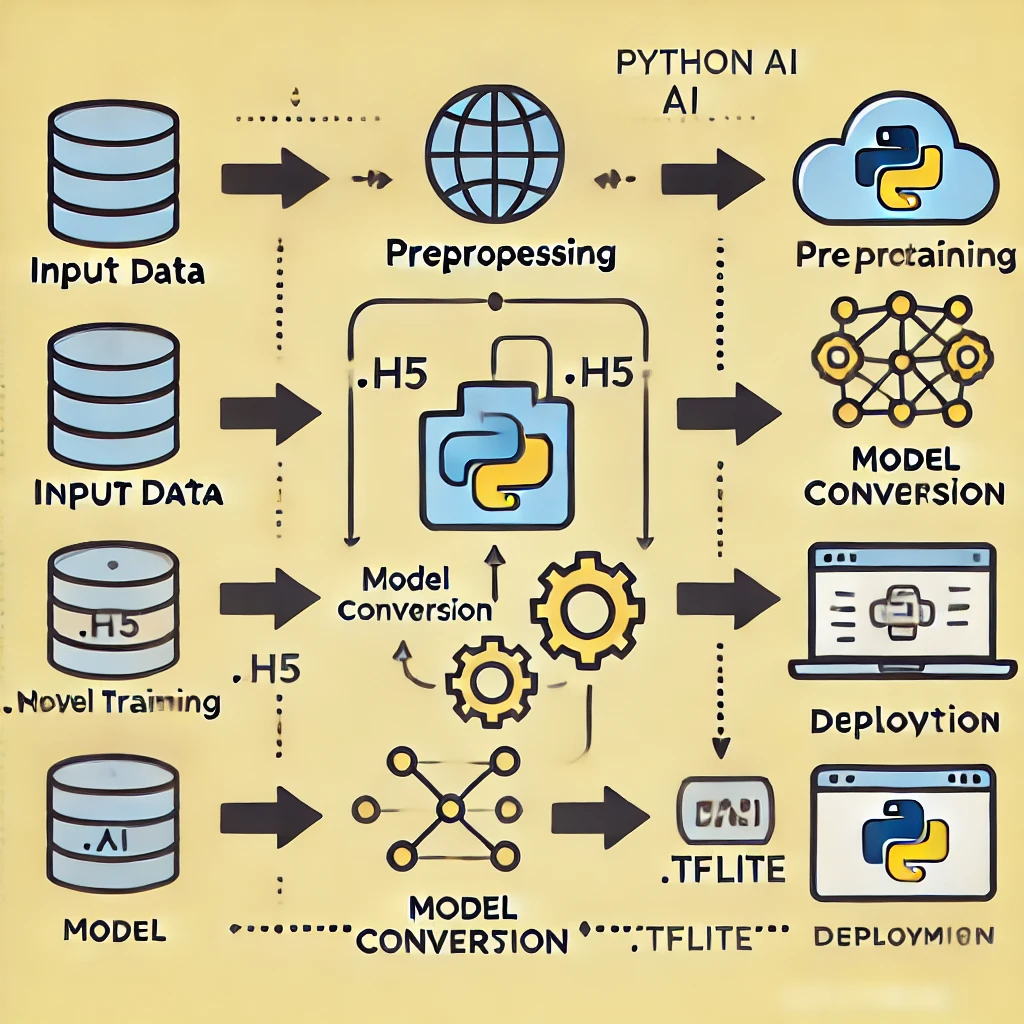
Preparing the Model for Deployment
Once you’ve selected your AI model, prepare it for integration into your Python application. This step may include:
- Model Conversion: Convert the model into a format that’s compatible with your deployment environment (e.g., using TensorFlow’s SavedModel or ONNX for interoperability).
- Optimization: Use tools like TensorFlow Lite or NVIDIA TensorRT to optimize your model for faster inference.
- Serialization: Save the model using serialization libraries (e.g., Pickle for Python or joblib).
Example: Saving a TensorFlow Model
import tensorflow as tf

# Assume 'model' is your pre-trained TensorFlow model
model.save('my_model.h5')
print("Model saved successfully!")
Building the Python Application
Now, let’s build your simple AI app Python. This section breaks down the process into clear, manageable steps.
Setting up the Environment
Create a virtual environment to manage your dependencies:
python -m venv ai_app_env
source ai_app_env/bin/activate  # On Windows: ai_app_env\Scripts\activate
pip install tensorflow  # Or your chosen AI library
Loading the Model
Load your saved model into your Python application:
from tensorflow.keras.models import load_model

model = load_model('my_model.h5')
print("Model loaded successfully!")
Creating the User Interface
Depending on your project requirements, choose a UI framework. For web-based applications, consider Flask:
from flask import Flask, request, render_template

app = Flask(__name__)

@app.route('/', methods=['GET', 'POST'])
def index():
    if request.method == 'POST':
        # Process input and make predictions
        user_input = request.form.get('input_data')
        prediction = model.predict(process_input(user_input))
        return render_template('result.html', prediction=prediction)
    return render_template('index.html')

if __name__ == '__main__':
    app.run(debug=True)

Handling User Input
Ensure your application can gracefully handle user inputs:
def process_input(input_data):
    # Convert the input to the required format for your model
    return processed_input
Making Predictions with the Model
Integrate the prediction step into your workflow:
def make_prediction(data):
    prediction = model.predict(data)
    return prediction
Displaying the Results
Finally, display the results to your user through your chosen interface:
@app.route('/result')
def result():
    prediction = make_prediction(user_data)
    return f"The predicted result is: {prediction}"
Testing and Debugging
Testing is crucial for any deploy AI model Python project. Use unit tests, integration tests, and manual testing to ensure your app behaves as expected. For debugging:
- Logging: Implement logging to capture errors and user actions.
- Error Handling: Use try-except blocks to manage exceptions gracefully.
- Interactive Debugging: Tools like
pdbor IDE-integrated debuggers can be invaluable.
Check out our Debugging Best Practices in Python for more tips.
Deployment
After testing, choose your deployment strategy:
- Local Deployment: Suitable for development and testing.
- Cloud Deployment: Use platforms like AWS, Google Cloud, or Heroku for scalable deployments.
- Containerization: Consider Docker to containerize your application for consistent environments across deployment.
Learn more about Deploying Python Applications on Heroku.
Conclusion
Migrating your AI to a Python application can transform your project from a theoretical model into a real-world solution. By carefully choosing your AI model, preparing it for deployment, and following a structured development process, you can create a robust Python AI application that meets your users’ needs.